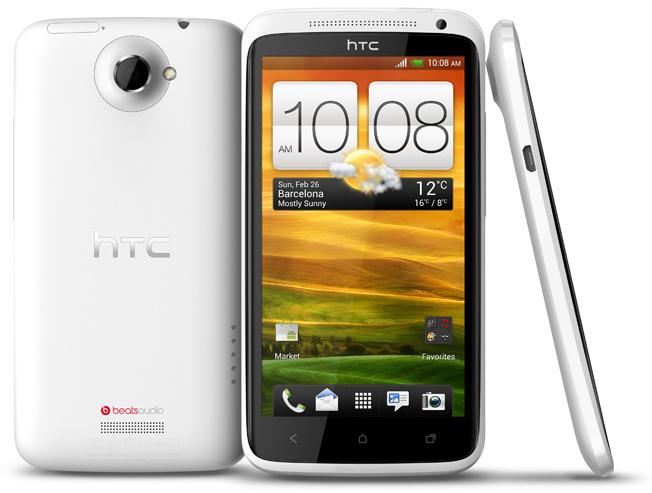
In order to root devices with unlocked bootloaders, I normally post a 'superboot' image. However, at the time of writing, the HTC One X (Tegra3) has an issue with it's bootloader whereby it is unable to 'fastboot boot' images, so this is not possible. The superboot is posted below for when this is resolved, however for now I have also included an alternate method.
I am currently working directly with HTCDev to solve the 'fastboot boot' issue.
Your bootloader must be unlocked via htcdev.com to use these solutions.
EASIEST ROOT METHOD - 'RECOVERY + SUPERSU'
The easiest way to get root is now to install my interim clockworkmod recovery and then flash the latest SuperSU zip file. This approach is highly recommended (I also recommend running a backup as soon as you've flashed clockworkmod!)
ALTERNATE ROOT METHOD - 'INSECURE BOOT AND ROOT'
This zip file contains an insecure boot image to flash to your device and a script which will then push the root (SuperSU) files to your device. This is only tested on 1.27.401.2 / 1.27.401.7. USE AT YOUR OWN RISK!
Download
- InsecureBootAndRoot - DOWNLOAD
- Download the InsecureBootAndRoot zip file above and extract to a directory
- Put your device in bootloader mode - Turn off the phone then turn on with the 'volume down' button pressed to enter the bootloader, then press the power button again to enter fastboot.
- WINDOWS - double click 'install-insecure-windows.bat'
- MAC - Open a terminal window to the directory containing the files, and type 'chmod +x install-insecure-mac.sh' followed by './install-insecure-mac.sh'
- LINUX - Open a terminal window to the directory containing the files, and type 'chmod +x install-insecure-linux.sh' followed by './install-insecure-linux.sh'
The device will now flash the new boot image and reboot. Keep the device attached to USB and when it has rebooted, ensure USB debugging is enabled - the SuperSU files will then be installed.
CONVENTIONAL ROOT METHOD - 'SUPERBOOT' (currently not functioning on shippping devices).
Superboot is a boot.img that when booted, will root your device the first time you boot (installing su and the superuser APK). No need to flash any partitions, no need to mess around with ADB, no messing with the contents of your data partition, no overwriting the shipped ROM on your device, just boot the boot image using the instructions below and you're done!
Download
- Superboot - DOWNLOAD
How to use Superboot - Windows, Linux and OSX
- Download the Superboot zip file above and extract to a directory
- Put your device in bootloader mode - Turn off the phone then turn on with the 'volume down' button pressed to enter the bootloader, then press the power button again to enter fastboot.
- WINDOWS - double click 'install-superboot-windows.bat'
- MAC - Open a terminal window to the directory containing the files, and type 'chmod +x install-superboot-mac.sh' followed by './install-superboot-mac.sh'
- LINUX - Open a terminal window to the directory containing the files, and type 'chmod +x install-superboot-linux.sh' followed by './install-superboot-linux.sh'
Watch this video


0 comments:
Post a Comment